A Complete Post-Roof Installation Inspection Checklist
A new roof is a major investment in your home’s safety, efficiency, and curb appeal. Once the roofers have finished their work, you might assume everything is in perfect condition. However, even with professional installation, a thorough post-roof installation inspection ensures your roof is built to last and free of potential issues.
This guide covers what to check after roofers install a new roof , giving you peace of mind and protecting your investment.
Why a Post-Roof Installation Inspection is Essential
Even the most skilled roofing professionals can make mistakes or overlook small details. Checking the quality of your new roof can:
✅ Ensure Proper Installation – Catching minor errors early prevents costly repairs later. ✅ Confirm Manufacturer Compliance – Many warranties require proper installation for coverage. ✅ Protect Your Home – Poor roofing work can lead to leaks, mold, and structural damage.
According to the National Roofing Contractors Association (NRCA) , improper installation is one of the leading causes of premature roof failure.
By following this post-roof installation checklist , you’ll ensure your home is properly protected for decades to come.
Post-Roof Installation Inspection Checklist
1. Check for Proper Shingle or Material Installation
Start by visually inspecting your new roof from the ground and, if possible, from an elevated position like a neighboring balcony or drone footage. Look for:
✅ Uniform Shingles or Tiles – All should be aligned with consistent spacing. ✅ No Missing or Loose Shingles – Gaps or loose materials can lead to leaks. ✅ Correct Nailing – Nails should be flush with the shingles and not overdriven. ✅ Sealed Edges – Shingles should be properly sealed to prevent wind damage.
If you notice curling, buckling, or misalignment, contact your roofing contractor immediately .
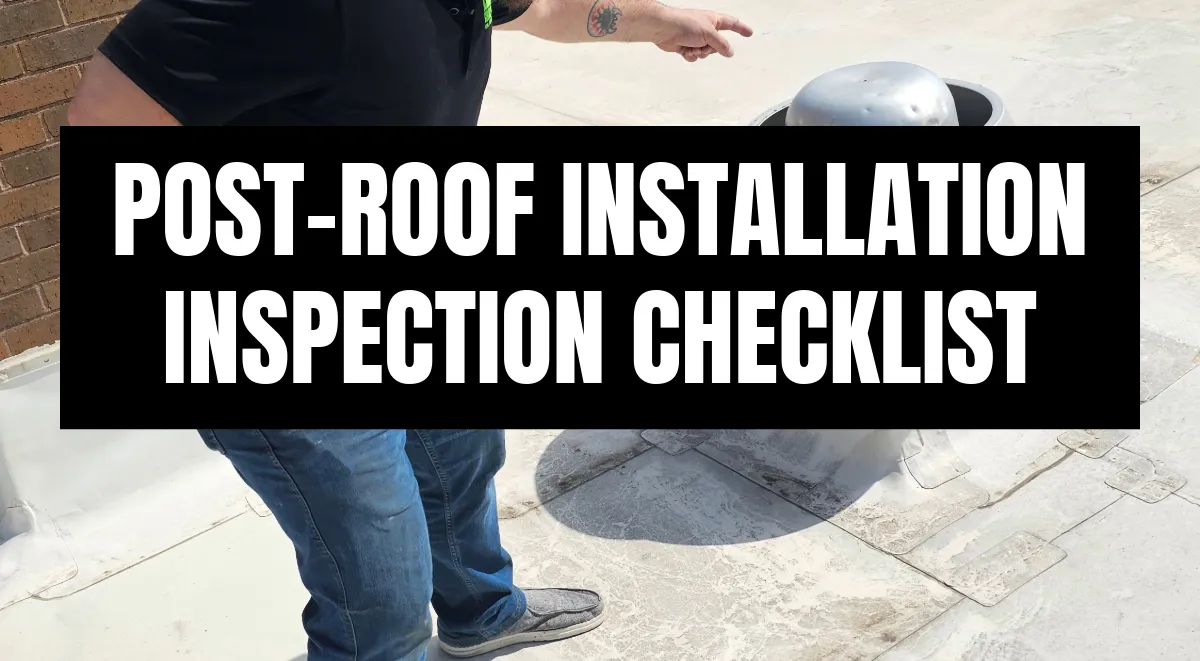
2. Inspect Flashing and Roof Penetrations
Flashing is critical for waterproofing areas where the roof meets walls, chimneys, skylights, and vents. Improper flashing can lead to leaks and interior damage.
Check for: ✅ Properly sealed flashing around chimneys, vents, and skylights. ✅ No visible gaps or rusted sections. ✅ Securely installed drip edges to prevent water infiltration.
If flashing appears loose or improperly placed, it needs immediate attention to prevent leaks.
3. Examine Gutters and Drainage Systems
A new roof should have proper water drainage to prevent foundation and siding damage.
Key Areas to Check: ✅ Clean Gutters – Ensure no roofing debris is left behind. ✅ Securely Attached Gutters – They should be firmly attached without sagging. ✅ Proper Water Flow – Water should flow freely through downspouts and away from your home.
Test the drainage system by running water through your gutters to confirm it directs water properly.
4. Look for Signs of Poor Ventilation
Proper attic ventilation extends your roof’s lifespan and improves energy efficiency. Poor ventilation can cause moisture buildup, leading to mold and shingle deterioration.
Signs of Poor Ventilation: ❌ Excessive heat in the attic. ❌ Moisture or condensation in the attic. ❌ Unpleasant odors or mildew growth.
Ensure ridge vents, soffit vents, and attic fans are unobstructed and functioning properly .
5. Check for Leftover Debris and Nails
After installation, your yard, driveway, and surrounding areas should be completely free of debris .
Safety Inspection: ✅ Walk around your property to check for stray nails, shingles, or metal pieces. ✅ Use a magnetic sweeper to locate and remove hidden nails in the grass or driveway. ✅ Verify that ladders, tarps, and leftover materials have been removed.
A clean worksite reflects a professional and thorough roofing job .
6. Confirm Warranty Details
A new roof comes with warranties for materials and workmanship . Before finalizing the job, ensure you receive all necessary documentation .
Review the Following: ✅ Manufacturer’s warranty for shingles and other materials. ✅ Workmanship warranty from the contractor. ✅ Proof of compliance with local building codes.
Store these documents in a safe place for future reference.
7. Conduct a Leak Test (After the First Rainstorm)
One of the best ways to confirm a quality installation is after the first heavy rain .
Signs of Leaks to Watch For: ❌ Water stains on ceilings or walls. ❌ Dripping water near vents, chimneys, or skylights. ❌ Damp insulation in the attic.
If you notice leaks , contact your roofing contractor immediately for repairs.
8. Verify Structural Integrity
A well-installed roof should not have any sagging or uneven sections . Sagging could indicate insufficient support, improper decking, or poor installation techniques .
Check For: ✅ A uniform roofline with no dips. ✅ Even shingle or tile application. ✅ No bouncy or unstable areas when walking (if safe to do so).
A level and sturdy roof ensures long-term durability and safety .
9. Inspect Interior Ceilings and Walls
Roof problems don’t always appear immediately on the outside. Check inside your home for signs of:
✅ Water stains on ceilings or walls. ✅ Peeling paint or bubbling drywall. ✅ Musty odors, which may indicate moisture issues.
Interior issues could mean a leak or poor attic ventilation . Addressing them quickly prevents costly repairs .
10. Get a Final Walkthrough with Your Roofing Contractor
Before signing off on the project, schedule a final walkthrough with your roofing contractor.
What to Discuss: ✅ Confirm all concerns from your inspection have been addressed. ✅ Review warranties and maintenance recommendations. ✅ Get a professional’s approval that the job meets industry standards.
This final step ensures you’re 100% satisfied with the work before making the final payment.
Frequently Asked Questions (FAQs)
How long does it take for a new roof to settle?
Most roofs settle within a few days to weeks, depending on weather conditions. However, proper installation should ensure no visible issues from day one .
What should I do if I find a problem after installation?
Contact your roofing contractor immediately. Most professional roofing companies provide a workmanship warranty that covers post-installation issues.
How can I maintain my new roof?
- Inspect it twice a year (spring and fall).
- Keep gutters clean and clear of debris.
- Address small repairs before they become major issues.
Don’t Skip This Final Step!
Your new roof is a significant investment, and ensuring it’s installed correctly is crucial for long-term protection. By following this post-roof installation inspection checklist , you can catch potential issues early, verify quality workmanship, and maximize your roof’s lifespan.
If you need a professional inspection or roof installation , contact Gorilla Roofing today ! Our team is dedicated to providing high-quality, durable, and reliable roofing solutions for your home.
Why Choose Us?
✅ Expert installation with a satisfaction guarantee. ✅ Comprehensive post-installation inspections. ✅ Reliable, efficient, and neighborly service.
(636) 295-1212 www.gorillaroofing.com