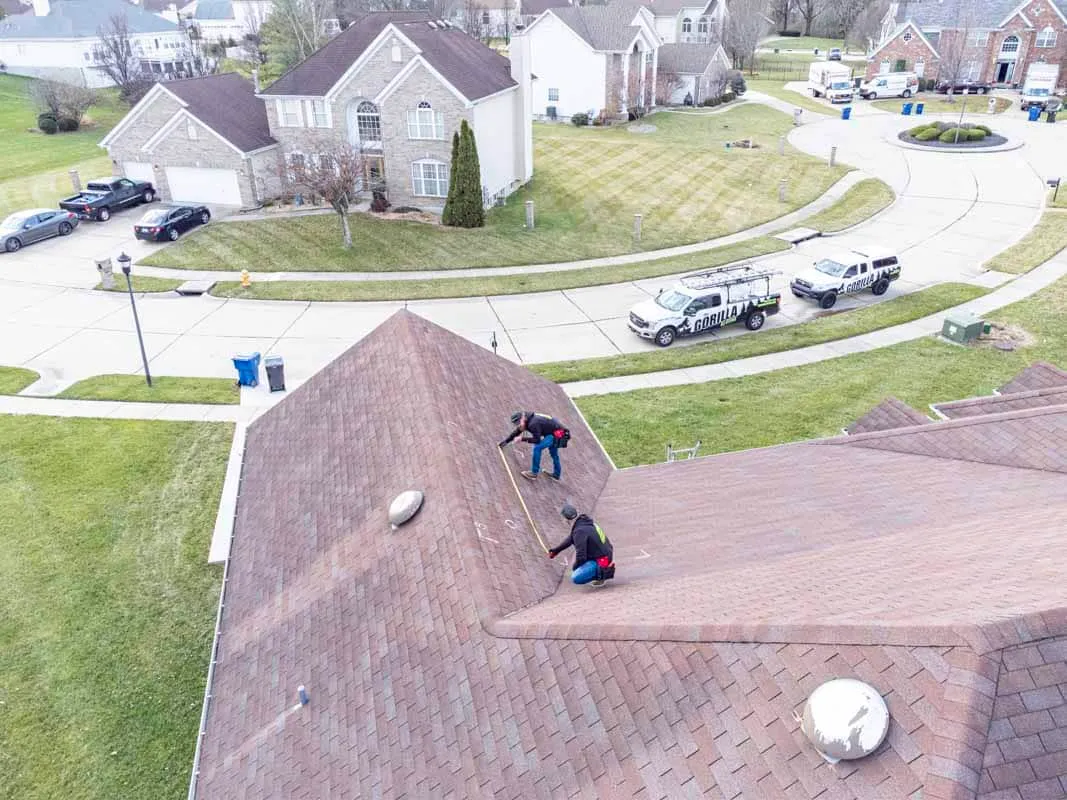
The adjuster pulls up, gets out a ladder, and spends thirty to ninety minutes on your roof with a piece of chalk, a measuring tape, and a camera. What they find — and what they miss — determines whether your claim covers a full replacement, a partial repair, or nothing at all.
Most homeowners are nervous on adjuster day because they don't know what's happening up there. Here's exactly what your adjuster is looking for, what they're writing down, and what you can do before and during the visit to keep the claim honest. If you want help with the whole claim end-to-end, our insurance-claims team walks through this with homeowners every week.
How An Adjuster Actually Inspects A Hail-Damaged Roof
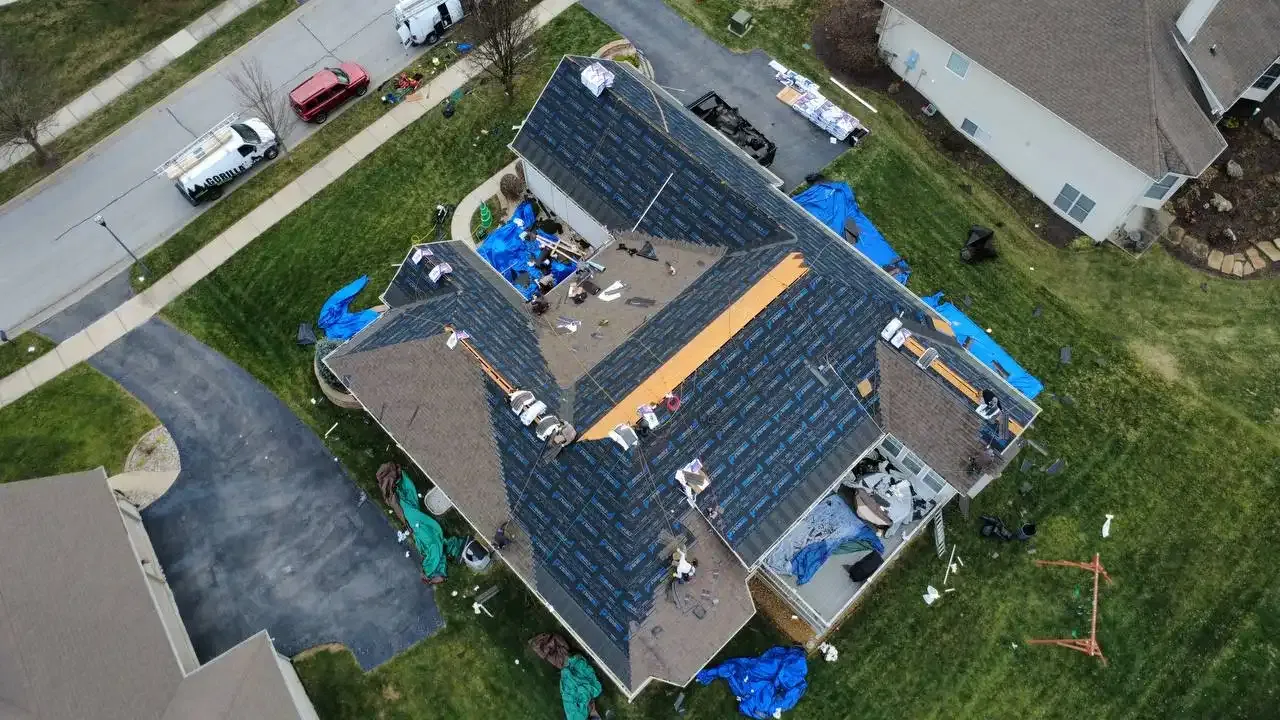
The standard insurance method is the test-square inspection. The adjuster picks a 10-foot-by-10-foot section on each slope of the roof — usually the slopes facing the direction the storm came from — and counts the verifiable hail hits inside that square. If the count exceeds the carrier's threshold (often 8 to 10 hits per square on at least two slopes), the slope qualifies. If multiple slopes qualify, the whole roof typically qualifies for replacement.
- Chalk-marking each hit so it shows in photos — bruises, fractures, exposed mat
- Photographing every chalk mark with a wide shot and a close-up
- Checking soft metals — gutters, downspouts, fascia, vent caps, AC unit fins — for the kind of dents only hail makes
- Inspecting the underside of the shingles where possible and the underlayment at any exposed edges
- Walking the perimeter to look at siding, window screens, and outdoor furniture for collateral hail evidence
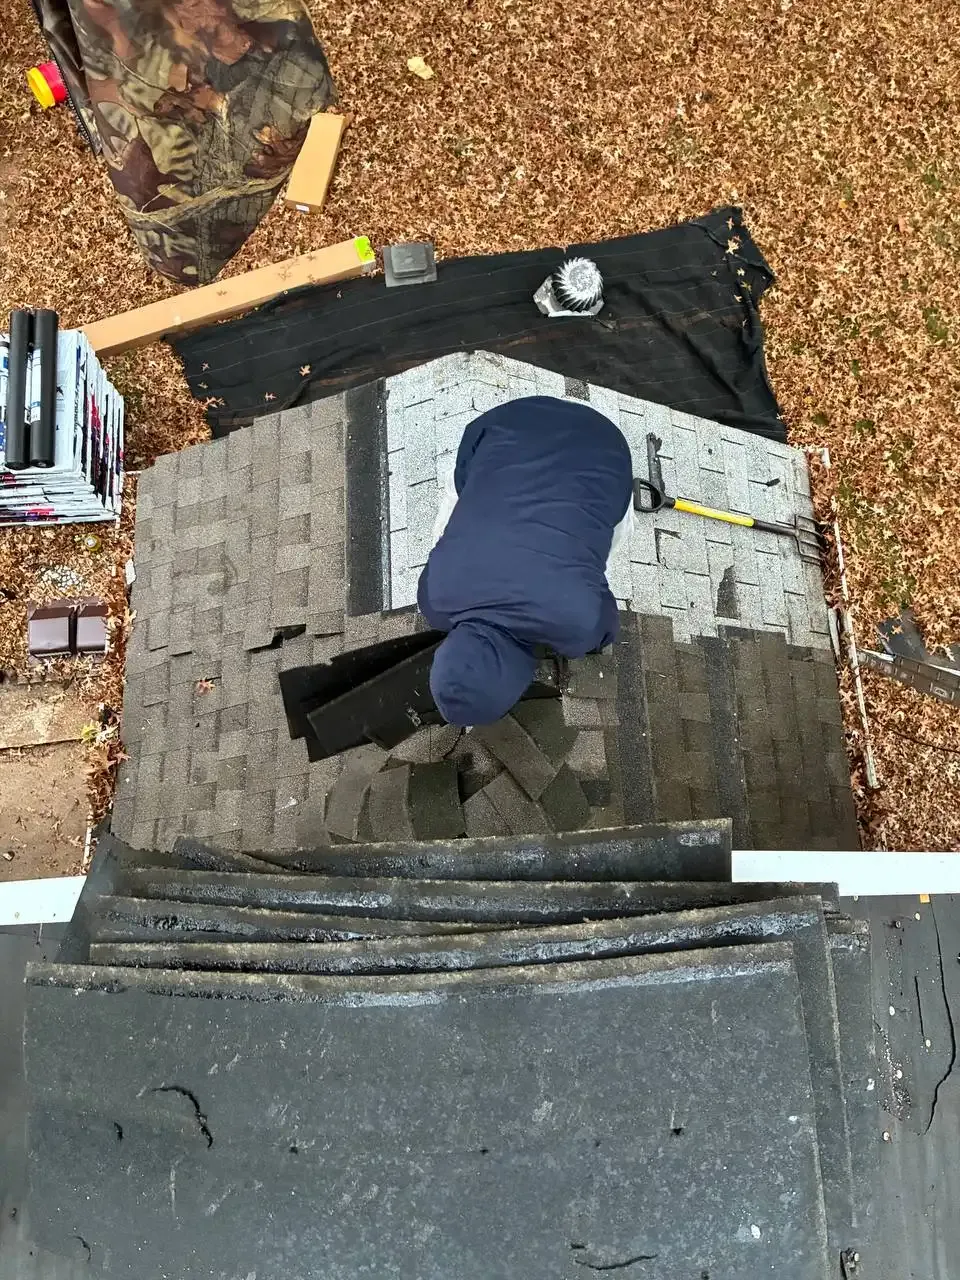
Granule loss is the second thing they're trained to find. When hail hits a shingle, it knocks the protective granule layer loose. You'll see darker patches where the asphalt mat is showing through and you'll see piles of granules at the bottom of downspouts. Both count as evidence.
What To Do Before The Adjuster Arrives
Adjusters work fast. They handle dozens of claims a week after a big storm, and the homeowner who's prepared usually walks away with the cleaner result. A few things to do in the days before the visit:
- Have your own roofer inspect first. They'll find damage the adjuster might miss and they'll flag any pre-existing issues you'll want to disclose up front.
- Get in the attic with a flashlight. Look for water staining on the decking or insulation, daylight at the eaves, and any nail tips that look freshly displaced.
- Walk the perimeter. Photograph dented gutters, downspouts, AC fins, vent caps, garage doors, window screens, and any exterior surface that took a hit.
- Gather your paperwork. Original roof installation date, prior roofing receipts, your current policy declarations page, and the date of the storm.
- Note any leaks. If water got inside, document where, when, and how much.
The Documents You Want In Hand
The adjuster's report is going to reference your policy. If you can hand them a folder with the right pieces, you remove every excuse for delay.
- Policy declarations page — confirms your coverage type (ACV vs. RCV), deductible, and any hail-specific endorsements
- Receipts or invoices from the original installation
- Any receipts for repairs done since the roof was installed
- Your roofer's inspection report and photos
- The date and time of the storm, plus any local news coverage of the event (helps prove the loss date)
If your roofer can be there during the adjuster's visit, have them be there. A second set of trained eyes is worth more than any document.
Why Claims Get Lowballed (And How To Catch It)
Even when damage is clear, the initial estimate can come in low. The most common reasons we see:
- The adjuster only marked one or two slopes when more were hit
- Granule loss wasn't documented separately from impact bruises
- Soft-metal damage on gutters, vents, and AC fins was treated as cosmetic instead of as supporting evidence
- Line items for code-required upgrades (drip edge, ice-and-water shield, ridge venting) were left out of the estimate
- The carrier's pricing scope used a regional average that doesn't reflect current MO/IL material costs
If your roofer's measurements and the adjuster's estimate don't match, you're entitled to ask for a re-inspection. Most carriers will send a senior adjuster or accept supplemental documentation. The cleanest way to do this is to have your roofer write the supplement: line-by-line, with photos and pricing source.
After The Adjuster Leaves
Within a week or two you'll get the carrier's loss estimate. Read it carefully. The summary line is just a number — the line items underneath tell you what the carrier thinks the job actually involves. Compare it to your roofer's scope. Missing line items, low material allowances, and short labor counts are the usual gaps.
If the numbers don't add up, don't sign and don't deposit any settlement check yet. Talk to your roofer first. A well-documented supplement filed in the first 30 days usually goes through without a fight. After 60 days, the carrier has more leverage to push back.
If you want a second set of eyes on either the damage or the paperwork, our insurance-claims team handles this every day — the inspection, the supplement, and the back-and-forth with the carrier. We'll meet you and the adjuster on site if the visit is still ahead of you. Either way, the goal is the same: the claim covers what the storm actually did.